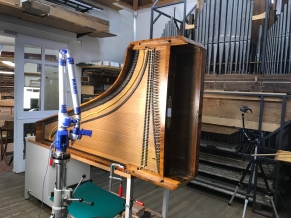
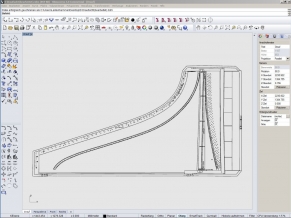
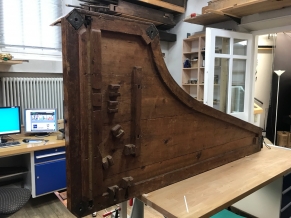
Documentation grand piano by Gregor Deiss, 1815
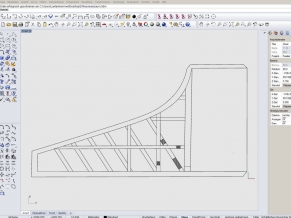
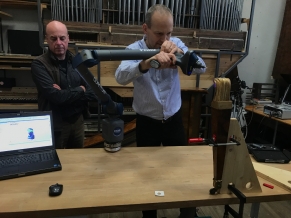
Exact surveying establishes a reference for reconstruktion of the instrument and therefore requires utmost exactitude and precision. A first step is visual inspection for planning the proceedings of survey. For the Deiß grand a combination of procedures is used:
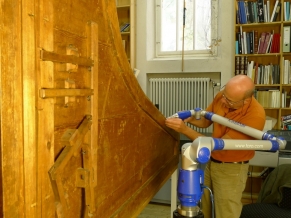
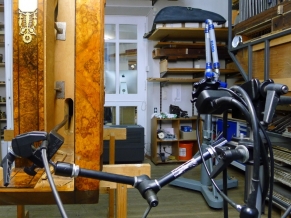
- tactile measuring using a Faro 7 links 3D scan arm:
- with straight tip for locating tuning, bar and end pins
- with angled tip for components not accessible otherwise
- with ball tip for measuring the case
- x-ray tomography for 3D survey of resonance elements (soundboard, ribs, struts, joints)
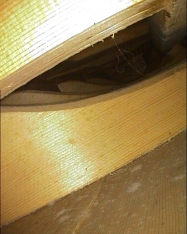
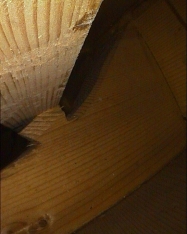
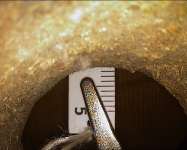
- boriscopic survey (position and basic measuring of struts, traces of tools and work processes, materials)
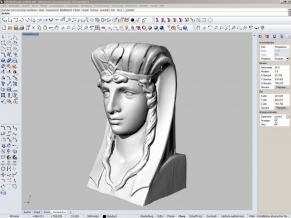
- laserscan of the karyatids
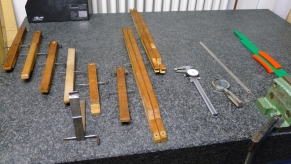
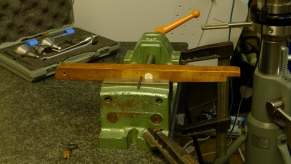
- self made measuring rod for a preliminary survey of the internal resonance chamber
Faro scan Arm
Boriscope
Faro-Laserscan
© Greifenberger Institut für Musikinstrumentenkunde | info@greifenberger-institut.de


